How To Setup Cricut Mug Press Machine?
- Posted by:Donald Olsen
- Tags:Setup Cricut Mug Press Machine, Cricut Mug Press Machine, Cricut Mug Press, Setup Cricut Machine
If you are searching for the proper steps to set up the Cricut Mug Press, then you have landed at the right place. It will give you the complete steps to set up and activate the machine. Here, you will get the complete steps from unboxing the machine to the setup process. Know the complete steps to it on Windows or Mac computer/laptop. Here you will get the idea of how to set up the Cricut mug press using the USB cable and to use the Cricut Design Space. Follow and read the below instructions for the same. This will allow doing the set up within minutes without any hassle.
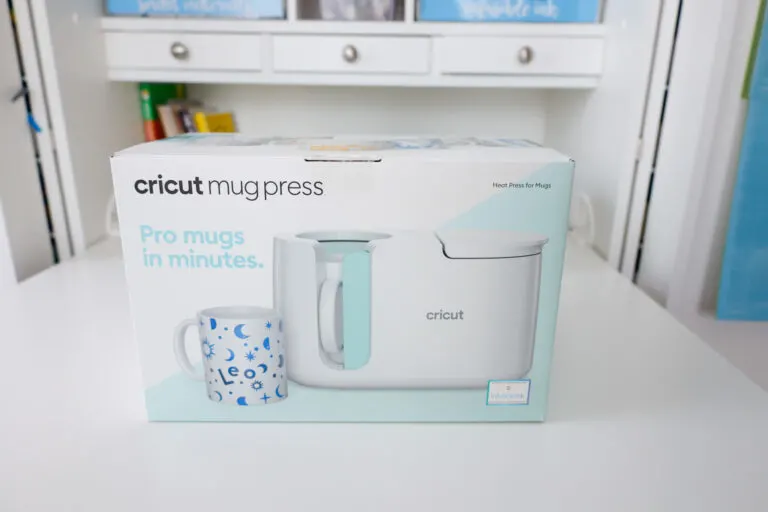
Step1: Unboxing Cricut Mug Press Machine
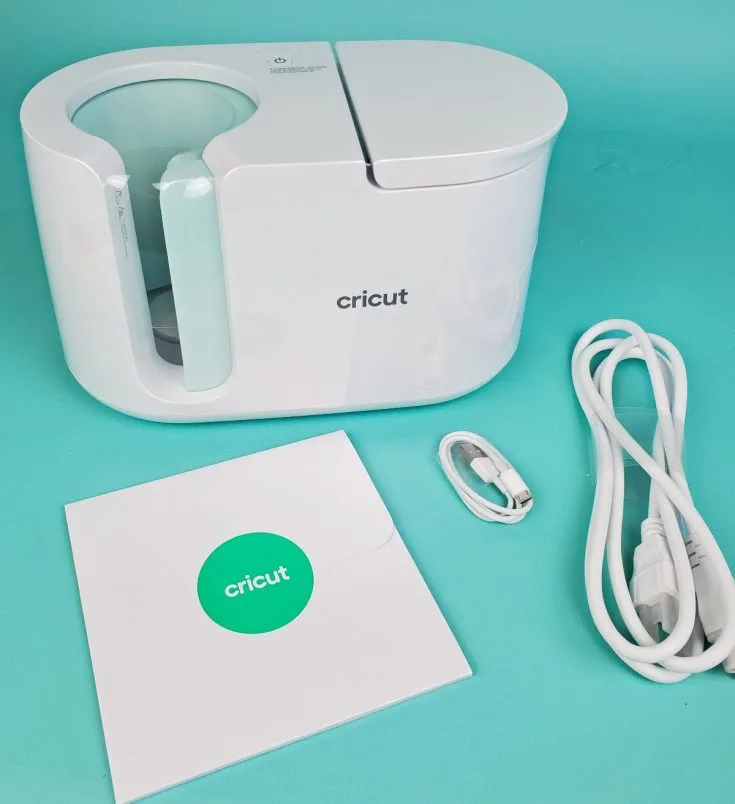
After you open the package, you will find the following items in your box:
- Mug Heat Press Machine
- Power Cord
- USB Cable
- Connector Cable
- An Instruction Manual Guide Booklet
Step 2: Set Up Your Cricut Mug Press USB Cable
- The first and foremost thing that you will need to begin the setup of your Cricut Mug Press machine is your desktop computer or laptop. Your Mug Press machine needs to be able to connect with your desktop with the help of a USB Port.
- Secondly, you have to collect the USB Cable and the connector cable for setting up. These two cables will come along with your Mug Press machine.
- Almost all desktops and laptops have a USB port. In case you have a Mac computer system, there are chances that the USB port is not there. In that scenario, you can connect using an adapter.
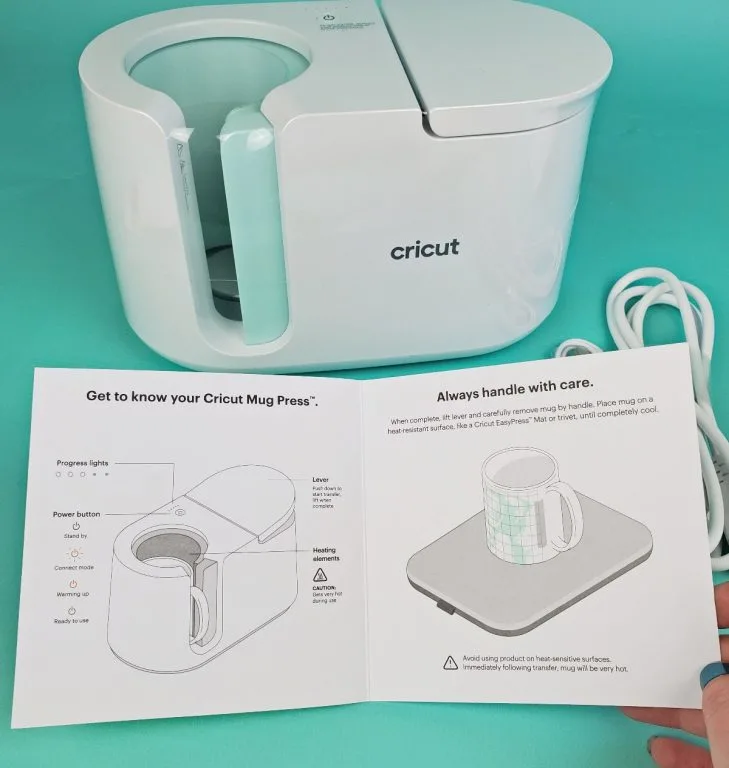
- When you open the Cricut Mug Press machine box, you will find an instruction manual pamphlet on how to set it up.
Step 3: Set Up Your Mug Press Using Cricut Design Space
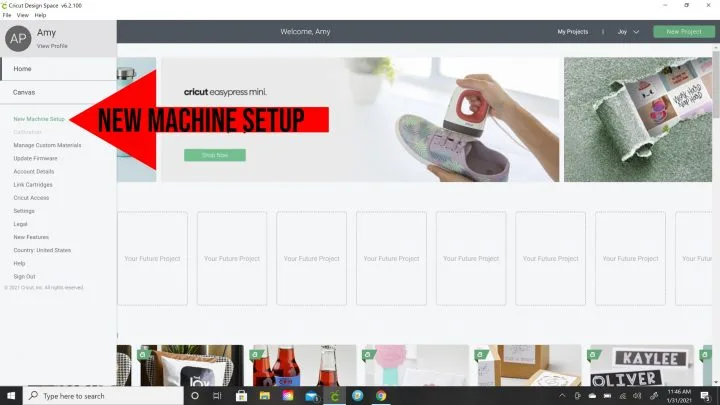
- On your desktop, open the Cricut Design Space software, and on the home screen, click on the three white lines in the upper left-hand corner. A drop-down menu will appear with all the settings.
- Next, click on the “New Machine Setup.”
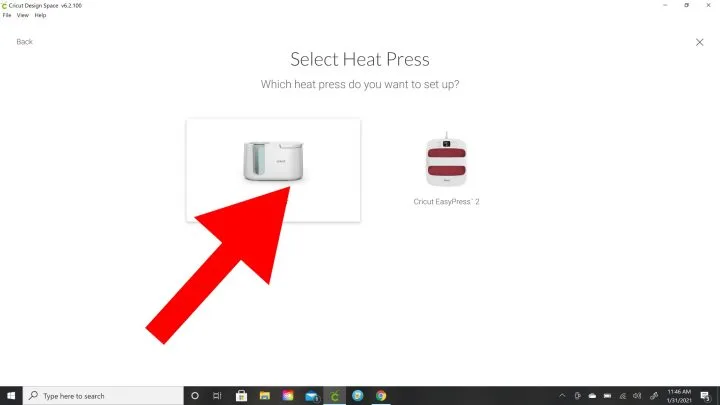
- From another drop-down, first, select the option of “Cricut Easy Press,” and you will be directed to another screen of “Select Heat Press.”
- On the next screen, click on the picture of the mug press machine.
- Then, you will get a pop-up screen that says to plug in your Cricut Mug Press machine and turn its power on.
- Next, you will be directed to another screen, which will ask you to connect the Cricut Mug Press machine to your computer. You can connect the machine and your computer using the supplied USB Cord/Cable.

NOTE: First, hook the end of your USB Cable to your computer and then the other end of the cable to your Cricut Mug Press machine to avoid any inconvenience. Many users fail to connect their press machine to their computer if they follow the other way around. That is, the connection somehow does not establish if you hook up the end of the cable first to your mug press machine.
- Once your computer system reads your mug press machine, you will come to know about your Cricut Design Space itself. After it reads the machine, click on “Continue.”

- After which you will get some screens about several updates needed. It will take some time to update the mug press machine to the latest Rootbeer. The green bar will show you the progress of the machine update.
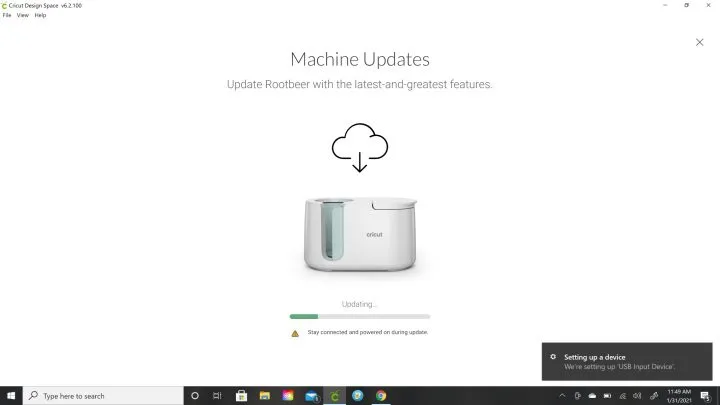
- As soon as you get the screen claiming “That’s It,” it means that your Cricut Mug Press machine is successfully connected and is ready to use. At this point, you can disconnect the USB Cord/Cable. You will be notified that Rootbeer is up to date and the machine is ready to be used.
NOTE: If you are unable to set up your Cricut Mug Press machine to your computer by the method provided in Step 3, only then follow the fourth and final step.
Step 4: Activate Cricut Mug Press
- Follow this step only if you were unable to connect your Mug Press machine with your desktop by Step 3. You will need the following:
- Cricut Mug Press Machine
- USB Cable ( which comes inside the box)
- Windows or Mac computer compatible with USB Type-A port
- Cricut Design Space Software
- On your Windows or Mac computer system, navigate “cricut.com/setup.” Install the Cricut Design Space on your computer system by selecting “Download.” Go to the downloads folder on your system to select the downloaded file, and then Open or Run it. If you already have it installed, then simply select “Open.”
- Sign in to the Design Space software with your Cricut ID and password. If you don’t have the ID, then create one so that you can continue with the next steps.
- A page will appear, which is titled “Welcome to Cricut Setup.” Over there, select Heat Press. You will be prompted to another screen with images of multiple heat press models. Select “Cricut Mug Press”, by clicking on the image.
- Follow all the on-screen prompts to connect your mug press machine. Check whether your firmware is up to date, and in case it is not, then update it as well. This will complete the activation of your Cricut Mug press machine.
- Lastly, after the activation is complete, select “Get Started” or visit the “Cricut Mug Press Fundamentals page.”