How To Setup Cricut Joy Machine?
- Posted by:Mathew Jones
- Tags:Setup Cricut Joy Machine, Setup Cricut Joy, Cricut Joy Machine, Setup Cricut Machine
The Cricut Joy machine is ideal for easy and quick projects. Whether you are an expert Cricut user or a beginner, you can set it up in minutes. This blog will let you walk through the exact steps of its setup process. Follow the below guide as soon as you unpack it from the box. Once you are done with the setup method, you can use it through Windows, iOS, Android, and Mac devices. This post will let you understand the machine setup process using Design space, Bluetooth pairing, etc. You may require to download some updates to begin with the process. Read the entire blog from start to end to know the complete setup process.
Step 1: Unboxing Cricut Joy Machine
This is the first thing you need to do: open the package and take out everything in the box. Inside the box, you will find seven different items:
- Cricut Joy Machine
- Power Adapter
- Instruction Manual Booklet (Setup Booklet)
- Sample Vinyl, Sample Paper
- Standard Cricut cutting mat
- Black Pen
Then, gently peel off the cellophane covering the Joy machine. Also, remove the styrofoam protector from the sharp end of the blade by peeling off the clear sticker that is protecting the area present under the blade.

Step 2: Set Up Your Joy Machine Using Cricut Design Space
- Next up, we have to hook up our Cricut Joy machine with the Cricut Design Space application. Open the Cricut Design Space on your desktop and make sure that its firmware is updated with the latest version available.
- When you open the Design Space, you will find that it will first perform the update in case the update is needed. It will hardly take a minute or two, but don’t skip it. As this will ensure that your Cricut Joy cutting machine is available for setup as a separate option in the Setup Wizard.
- After successfully updating, click on the three lines in the upper left-hand corner. Then select the option of “New Machine Setup.” From the drop-down menu, select Cricut Joy machine.

Step 3: Get Connected
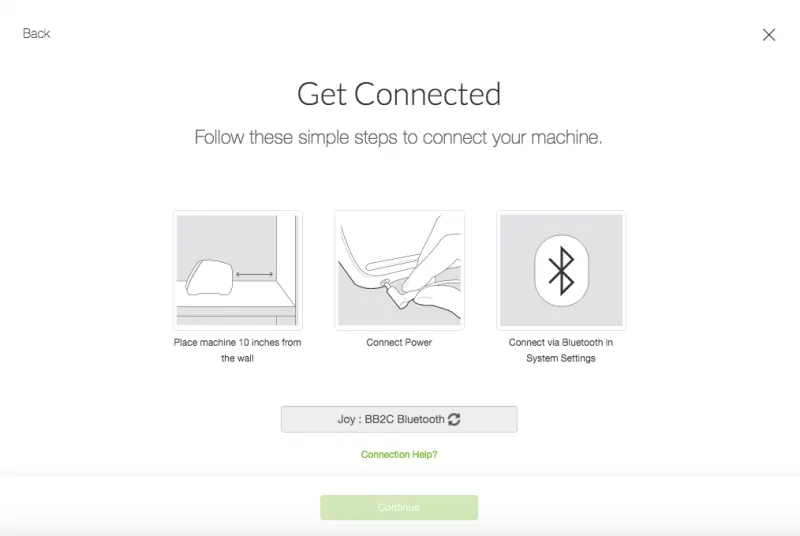
- The Cricut design space is equipped with many on-screen prompts that will guide you through all the steps that you need to follow to connect your Cricut Joy machine to your system.
- Also, make sure to place your Joy machine at least ten inches away from the wall. Connect it to the wall socket using a power cord.
- Lastly, connect the Joy machine to your system (desktop or mobile) via Bluetooth. The method of the same is provided in the next step.
Step 4: Cricut Joy Bluetooth Pairing
The Cricut Joy machine uses Bluetooth connectivity to all compatible Android devices, iOS devices, Bluetooth-enabled Windows computers, or Bluetooth-enabled Mac desktops. Each device has separate steps that you need to follow in order to connect to the Joy machine. Follow the steps below according to the device that you are using.
Windows
- Make sure that your Cricut Joy machine is powered on and within ten to fifteen feet distance from your Windows computer.
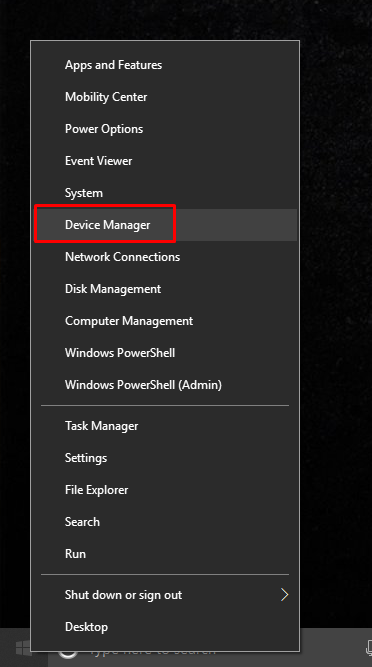
- Most Windows computers are Bluetooth enabled. Although, to determine whether your computer is Bluetooth-enabled or not, first right-click on the Start button. And from the drop-down menu, select “Device Manager.”
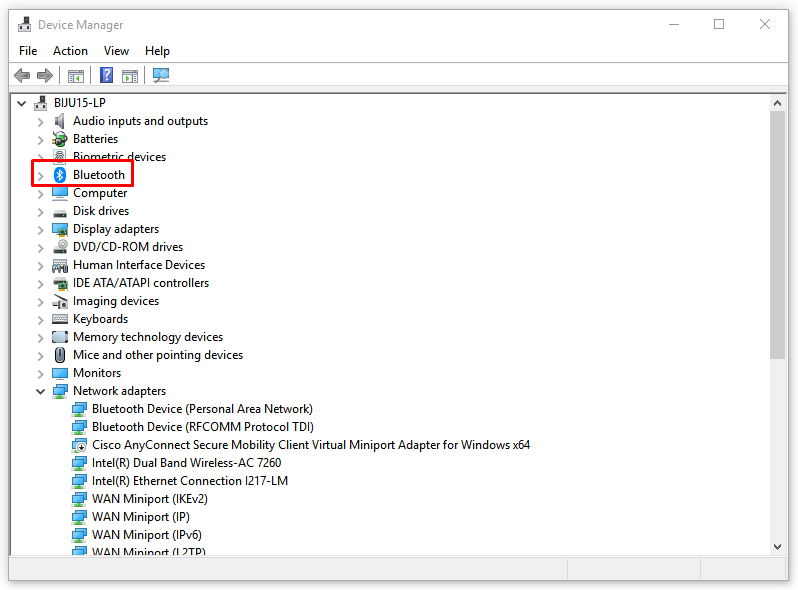
- A list will appear on your screen; search for Bluetooth; if it is present in the list, then your computer is Bluetooth enabled. If you cannot find the Bluetooth option, you will have to purchase a USB device or Bluetooth Dongle.
- Now close the Device Manager. Then on your desktop, open the Start menu and select “Settings.”

- From the drop-down menu, select the option of “Bluetooth & Other Devices.”
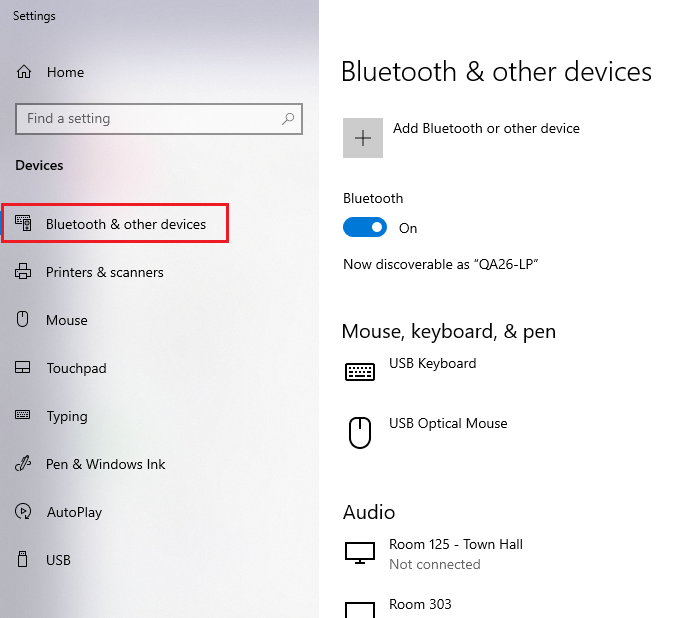
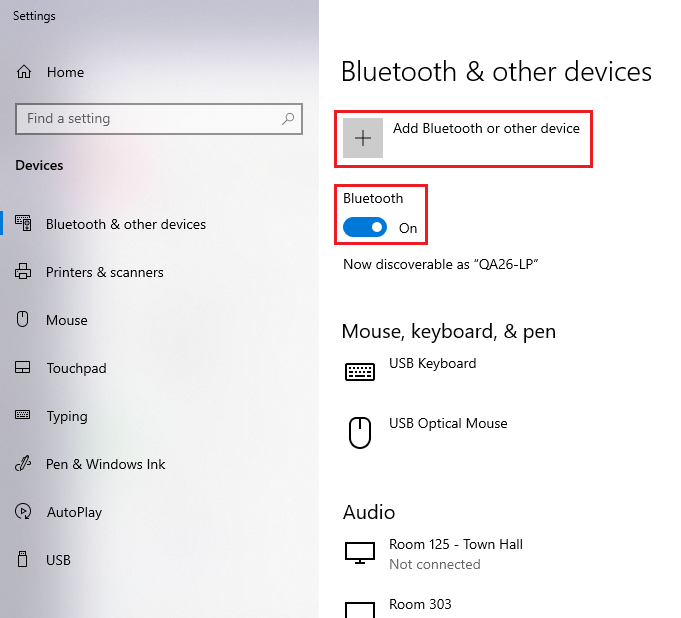
- Ensure that the Bluetooth is ON by swiping to the right. And click on “Add Bluetooth or other device.”
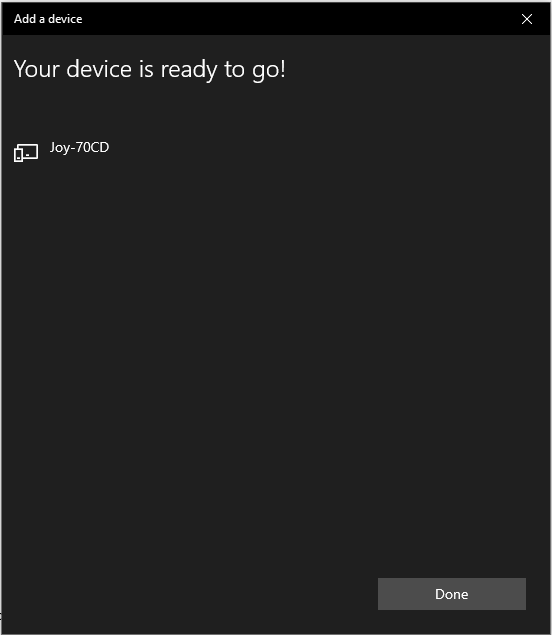
- On the next screen of “Add a device.” Select the Bluetooth option and wait for your Windows computer to detect your Cricut Joy machine. Now, select the Bluetooth module name of your Joy machine from the list to initiate pairing. You can find the name of your Cricut Joy Bluetooth module from the bottom of the Joy machine.

- The Cricut Joy cutting machine is now paired to your Windows computer via Bluetooth.
Mac Users
- Power on your Cricut Joy machine and place it within ten to fifteen feet away from your Mac computer.
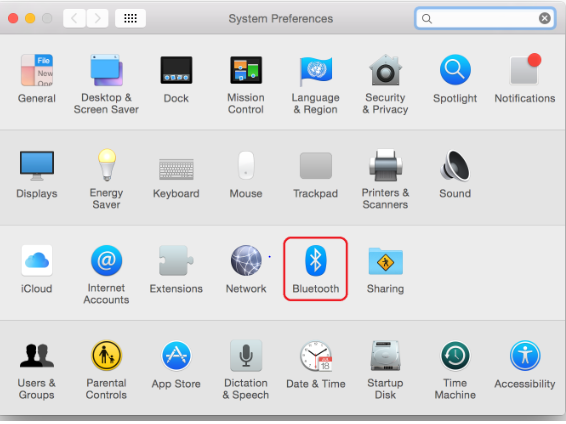
- Most Mac desktops are Bluetooth-enabled. But, to determine whether your Mac computer is Bluetooth-enabled or not, first, open the Apple Menu. Go to System Preferences and look for the Bluetooth option.
- Now, open the Bluetooth window; if it is off, click the button to turn it on. From the list of devices, find the Bluetooth module name of your Cricut Joy. You will find the module name of your Cricut Joy cutting machine on the bottom side of it. After that, select “Pair” or “Connect.”

- Voila, your Cricut Joy machine is successfully paired to your Mac desktop.

iOS Users
- Switch on the power of your Cricut Joy machine and place it within the range of ten to fifteen feet from your iOS mobile device.
- Open the Settings option and go to the option of Bluetooth.

- Tap the icon to turn on the Bluetooth.
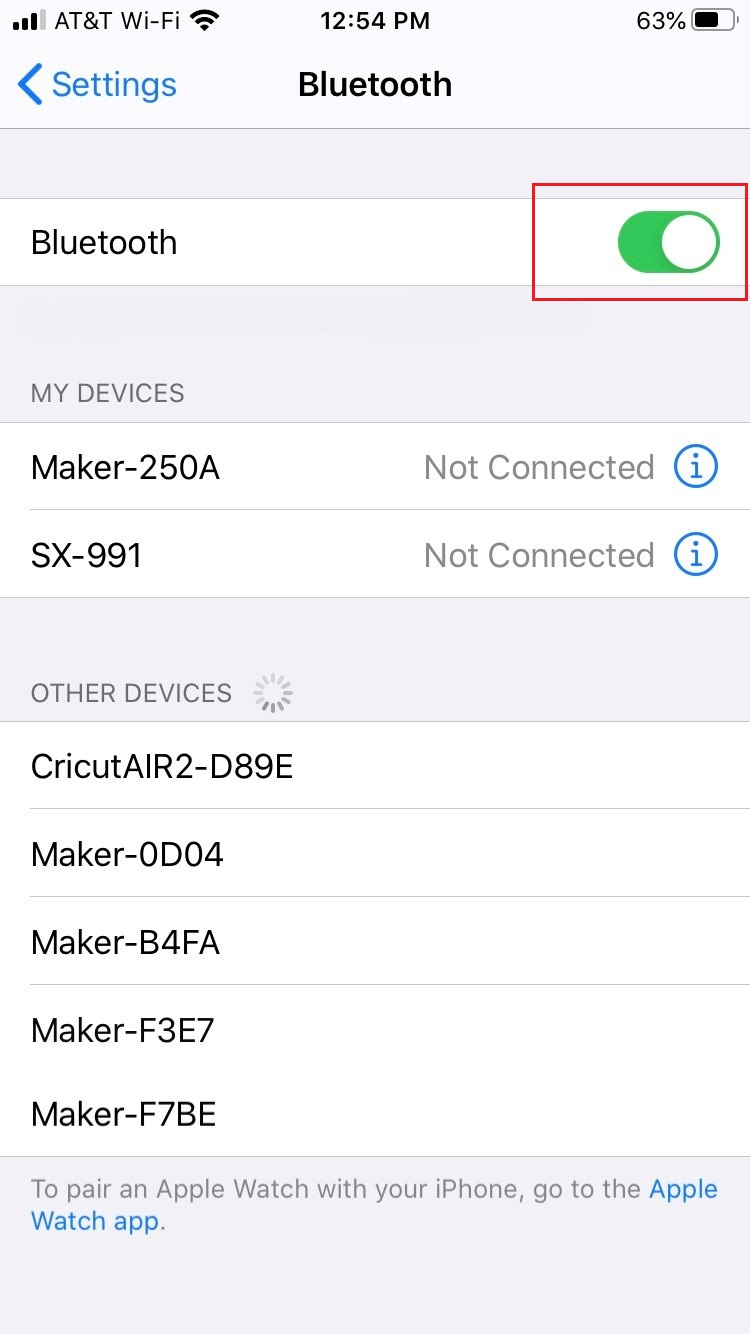
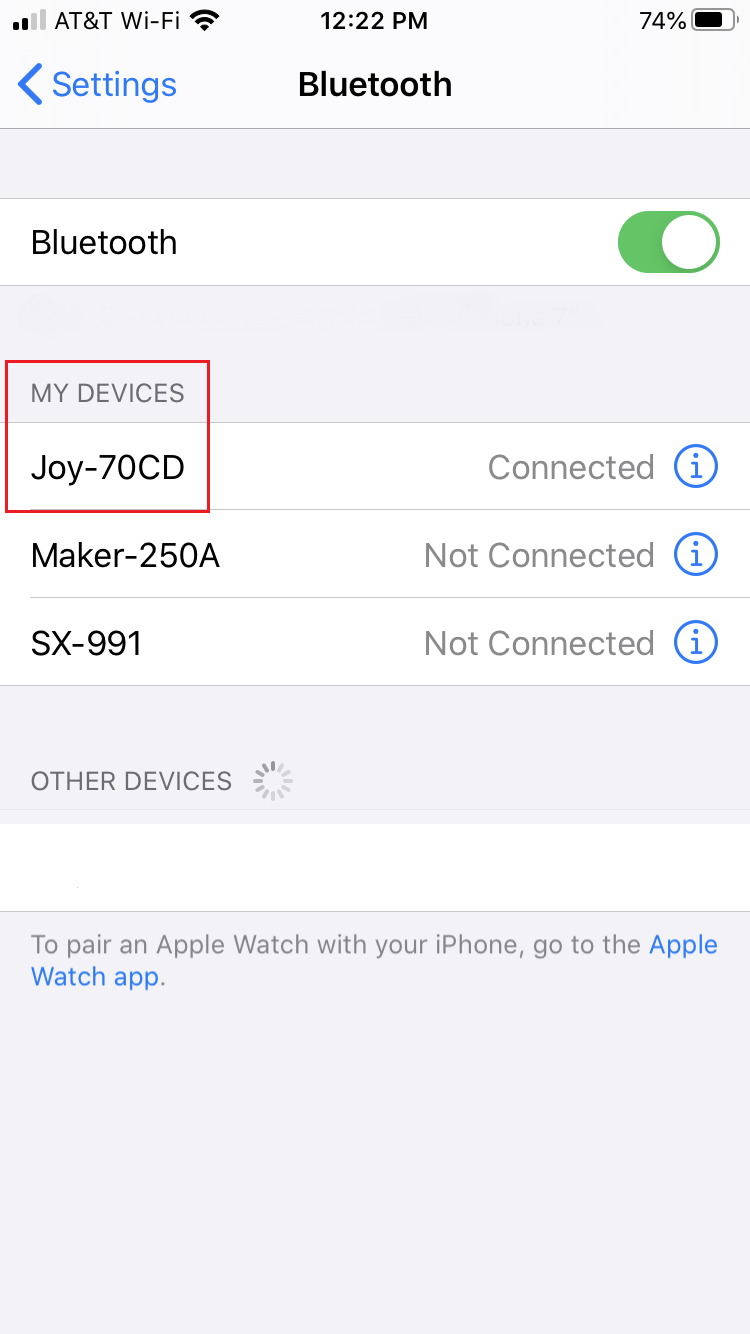
- A list of all the available devices that are ready to pair will appear on your mobile screen. Select the name of the Bluetooth module of your Cricut Joy machine. You can find this name under the bottom of your Joy machine.

- Finally, your Cricut Joy cutting machine is paired with your iOS device.
Android Users
- First, make sure that you have turned on the power of your Cricut Joy machine and keep it within ten to fifteen feet distance from your Android mobile device.
- Open the settings and then go to Bluetooth.

- Tap to turn on the Bluetooth.
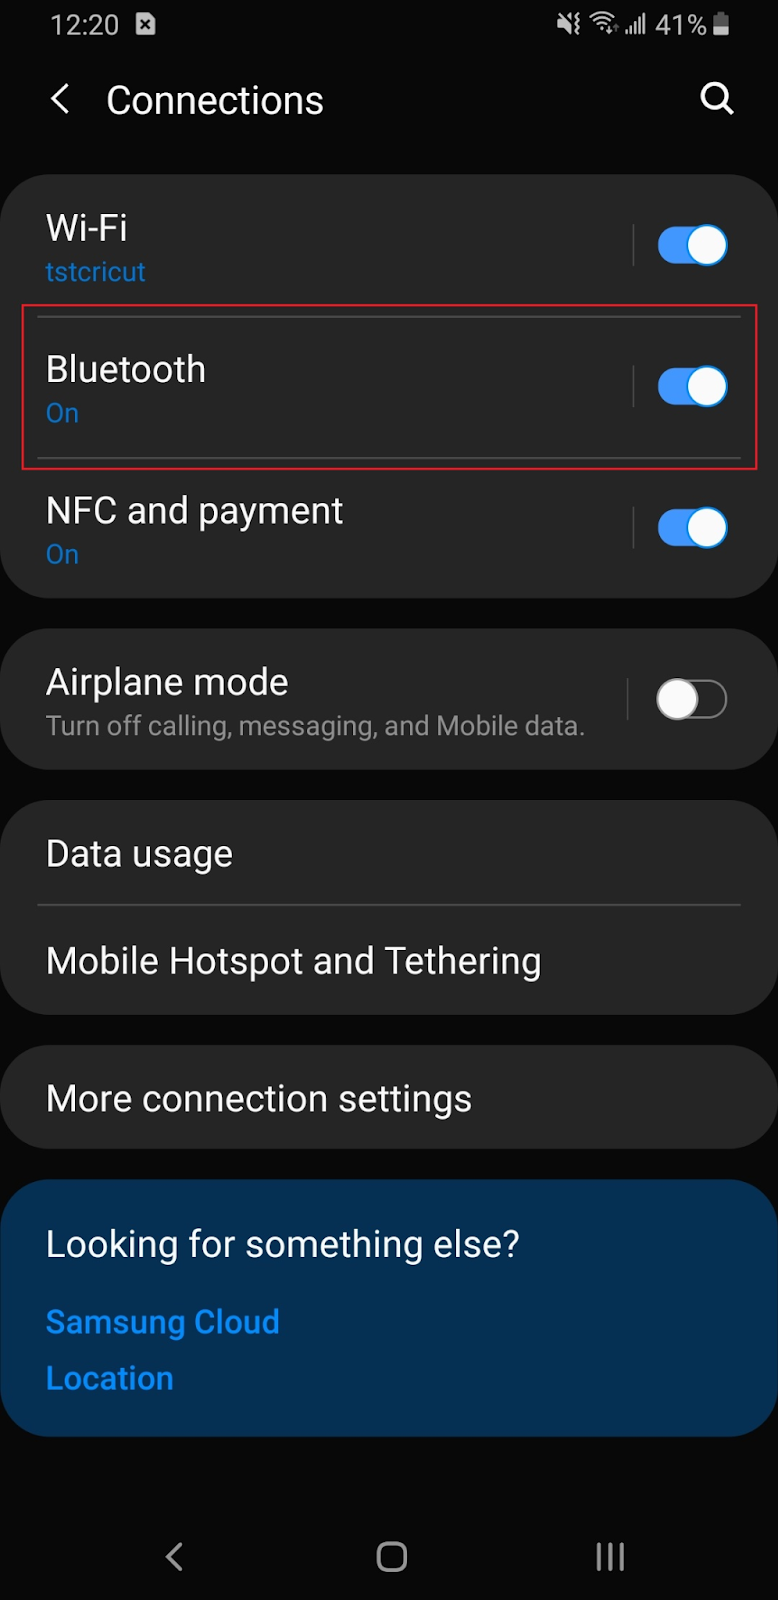
- To initiate pairing, select the Bluetooth module name of your Cricut Joy machine, which you can find at the bottom of your Joy machine.

- As soon as you tap on the Bluetooth, your Cricut Joy machine will pair successfully with your Android device.