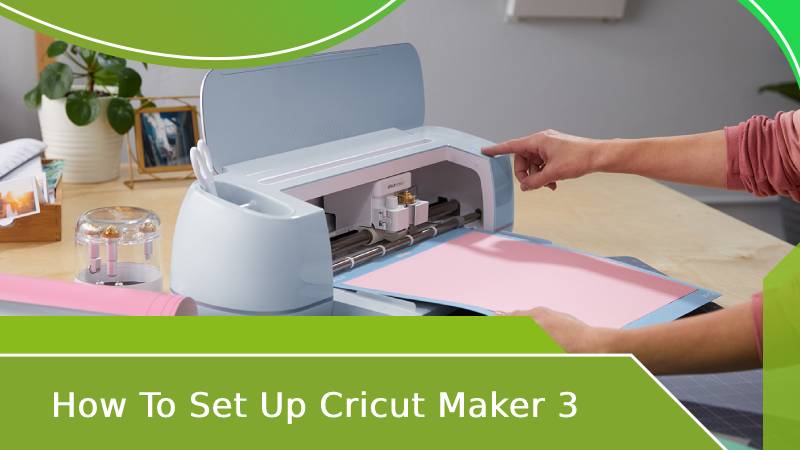
How To Set Up Cricut Maker 3 Machine?
- Posted by:Donald Olsen
- Tags:Set Up Cricut Maker 3, Cricut Maker 3, Set Up Cricut machine
Setting up a Cricut Maker 3 for the first time can be exciting but also a little complex. This article post is for you if you are a total beginner and are looking for the proper guide to setting up Cricut. It will teach you some easy steps to finish the setup process and move on to do your first project with your Maker 3. Here you will get the whole idea from unboxing to creating the project and ensure the smooth running of the machine. Read the complete write-up to know the proper instruction to finish the setup process of the Cricut machine. You can use it either with Windows or the Mac operating system.
Step 1: First, Unboxing Cricut Maker 3 Machine
Let's start by opening the box, which can sometimes be the most intimidating part for Cricut beginners. When you open the lid flap for the first time, you'll receive an envelope containing a setup guide, warranty and safety information, and Smart Vinyl. You'll be using that vinyl to complete your first project, so keep it handy.
- Cricut Maker 3 Machine
- Smart Vinyl For Test Project
- Setup Guide
- Safety Instructions
- Power Cord
- One Full Sheet Each of Smart Vinyl, Smart Iron-On Vinyl, Sticker Paper, and Transfer Paper
- Cutting Blade (already inside clamp B)
- USB Cord
- Warranty Information
Step 2: Steps To Set Up Your Cricut Maker 3 on Windows and Mac System
In order to set up your Cricut Maker 3 on Windows and Mac system, kindly follow the steps given below:
- First, plug in your Maker 3 machine and turn it on.
- Next, connect your machine to your PC with a USB cord or pair it through Bluetooth.
- Then, go to design.cricut.com/setup in your internet browser.
- After that, download and install Cricut Design Space for your Desktop.
- Follow your on-screen steps to sign in, create a Cricut ID, and set up your machine.
- When you are asked to cut your first project, you will know the setup is done.
Step 2: Steps To Set Up Your Cricut Maker 3 on iOS and Android Devices
In order to set up your Cricut Maker 3 on iOS and Android devices, kindly follow the steps provided below:
- First, plug in your Maker 3 machine and turn it on.
- Next, pair your iOS or Android device with your machine through Bluetooth.
- Then, download and install the Cricut Design Space app.
- Launch the app, then sign in or create a Cricut ID.
- After that, click on Menu and choose Machine Setup.
- Select your machine model and follow your on-screen steps to complete the setup.
- When you are asked to cut your first project, you will know the setup is done.
Step 3: How To Pair Cricut Maker 3 on Windows System Via Bluetooth
You can cut wirelessly using the Cricut Maker 3 through Bluetooth. Kindly follow the steps to connect to your computer or phone device provided below:
- First, you've to make sure your Cricut Maker 3 is within 10 to 15 feet of you and running the computer.
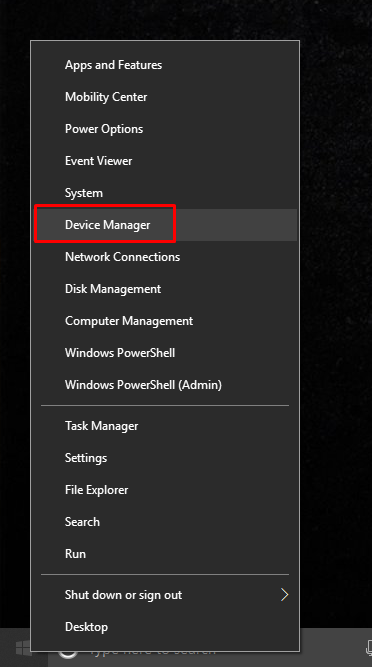
- Most computers are Bluetooth enabled. But, to determine if your computer is Bluetooth enabled, right-click on the Start Button and select Device Manager.
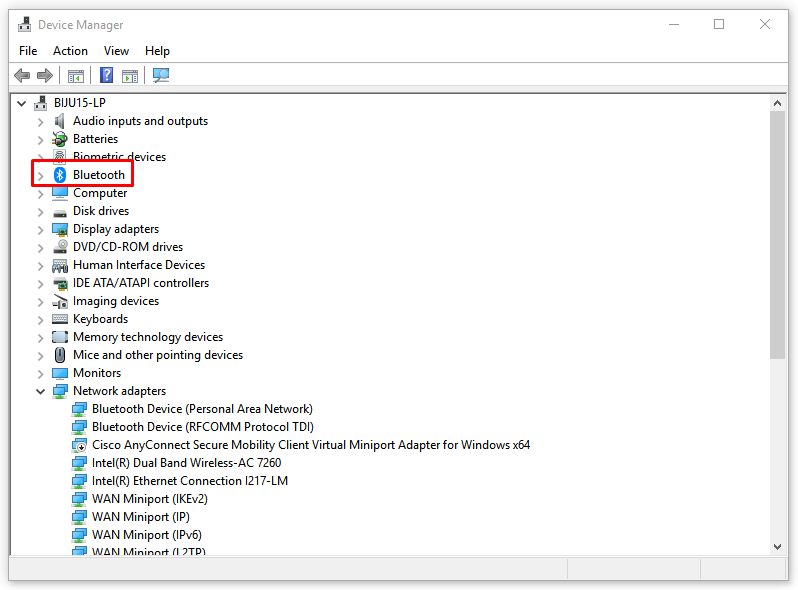
- If Bluetooth is listed, your PC is Bluetooth enabled. If not, you've to buy a USB device called a Bluetooth Dongle to allow your PC to talk to another Bluetooth device.
- Now, close Device Manager.
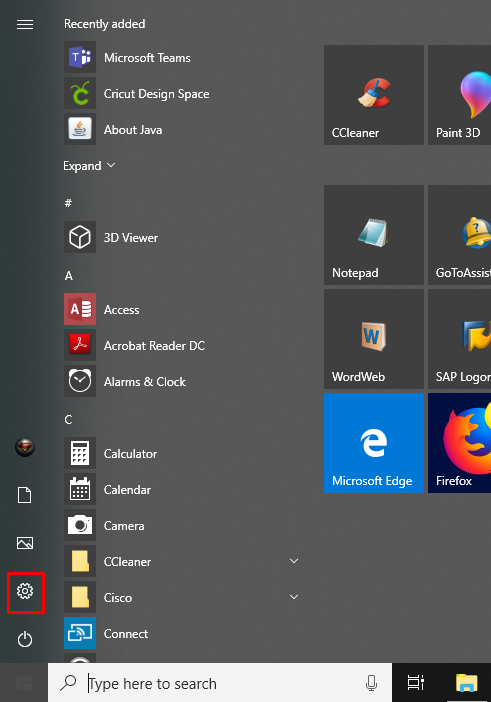
- After that, open the Start menu and select Settings.
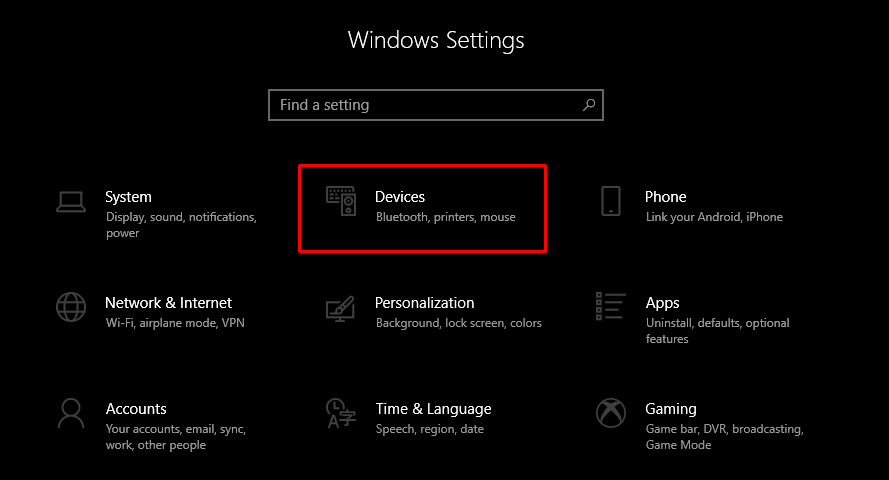
- Then, click on the Devices option.
- Make sure Bluetooth is turned on and tap on Add Bluetooth or other devices.
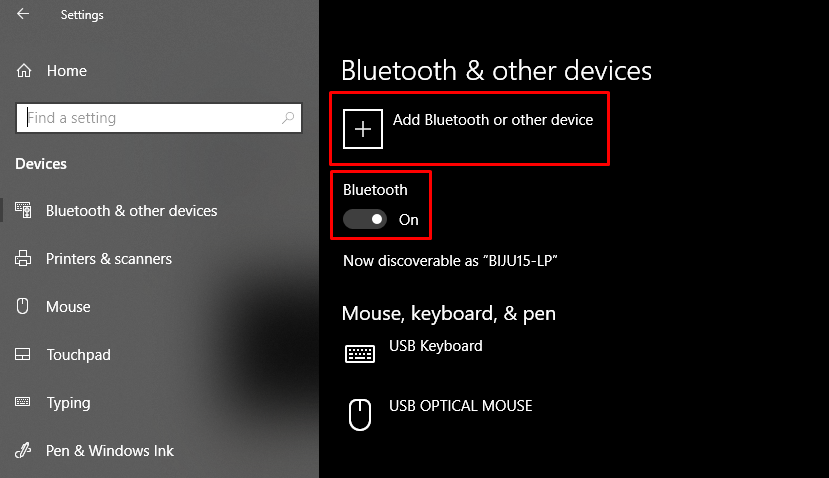
- Now, click on Bluetooth and wait for your PC to detect your machine. Then, choose your machine from the list.
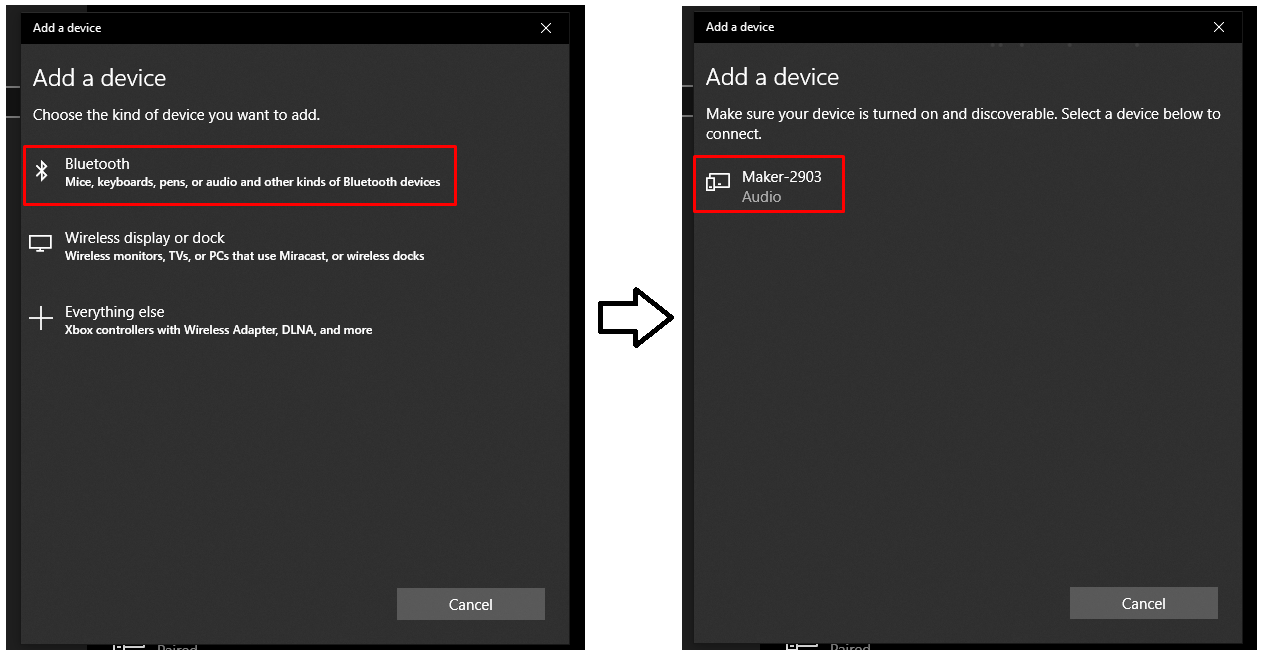
- If you're prompted to enter the PIN, type in 0000. Then select Connect.

- Your Cricut Maker 3 is now paired with your Windows system.
Step 3: How To Pair Cricut Maker 3 on Mac System Via Bluetooth
In order to pair your Cricut Maker 3 on a Mac system through Bluetooth, kindly follow the steps mentioned below:
- First, be sure your Cricut Maker 3 is within 10 to 15 feet of you and running the computer.
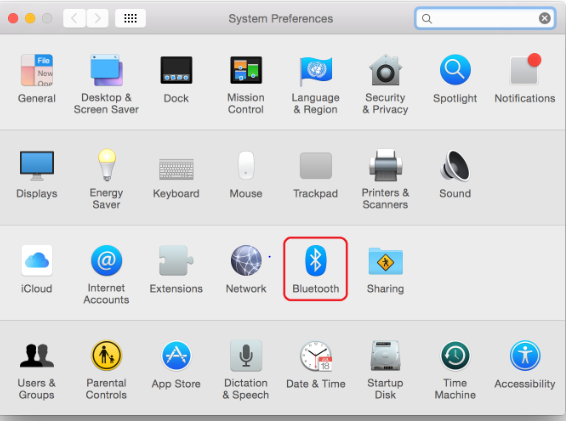
- Most computers are Bluetooth enabled. But, to determine if your Mac system is Bluetooth enabled, open the Apple menu > System Preferences and look for Bluetooth options.
- Then, open the Bluetooth window. If Bluetooth is off, tap the button to switch it on. Select your adapter/Bluetooth module name from the list.
- After that, select Pair. When prompted, enter PIN code 0000 and choose Pair.
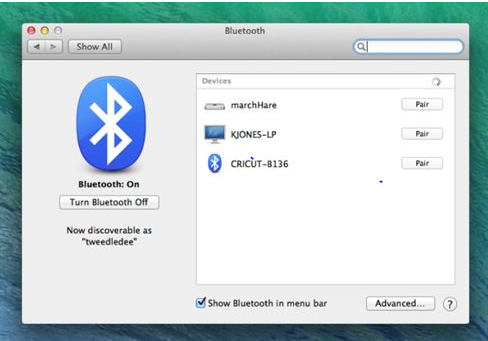
- The pairing is now done.