How To Make Shirts With Cricut? [Ultimate DIY Design Guide]
- Posted by:Drake shawn
- Tags:Make Shirts With Cricut, DIY designs for Cricut, Cricut Design Space, Cricut Easy Press.
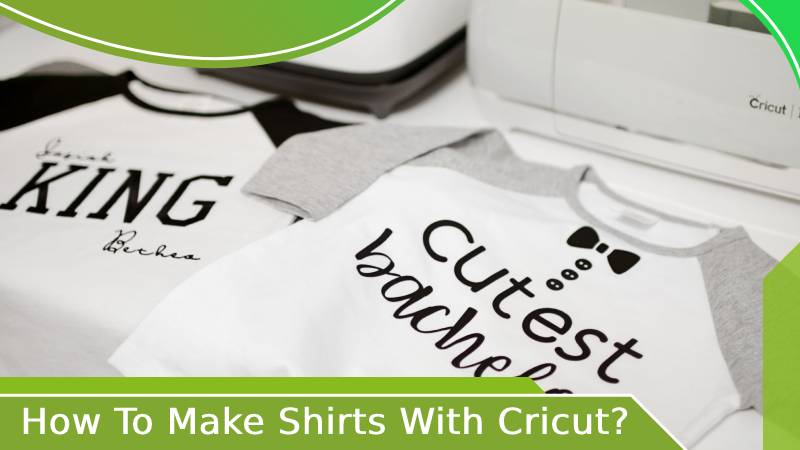
Shirt making is one of the easiest DIY designs for Cricut. It takes less effort and more time in guesswork, like what to write or draw. But with us, you may not spend much time thinking. We will see how you can easily transfer your thoughts onto your white T-shirt. In this blog, I will share the design I created for my T-shirt. I hope you get some idea out of that to create one.
So, if you are interested, read the blog till the end. Let's get started with all the tools. Check whether you have everything it needs to make a design. Let me give you a checklist of the items you need.
What Do You Need To Make Shirts With Cricut?
Here is the list of items you may need:
- Heat Transfer Vinyl
- Weeding tool
- Tape measure
- Heat press
- Heat mat or towels
- Cricut cutting machine and mats
- A creative shirt design
How Will You Make A Shirt With Cricut?
We have all the necessary steps that you need to transfer your design onto a shirt successfully.
Use Cricut Design Space To Create A Design
The first and foremost step is to measure the width of your shirt. A general formula to create your design is to make a design around 12 inches less than the shirt's width. For example, my shirt had a width of 21 inches, so I made a design in a 9.5" area.
Also, when your SVG is uploaded to the Design Space, you can change the size of your design by going to the top menu under size. Focus on adjusting the width, and the length will automatically adjust. After selecting the particular design, click on the make it button. For other designs you want to add, use the attach button at the bottom of the layer menu in order to create the design as shown in the Design Space.
Don't forget to see the preview of the cut mats. Many users forget to use the mirror button while working with HTV. You need to click that button for every mat, not just the first one. Thus, once you mirrored all the mats, get back to number one and click continue. And then, choose iron-on if you have Cricut Explore and "everyday iron-on" if you have a maker from the material list.
Now, the real task will start.
Cutting And Weeding HTV
Now, it's time to transfer the first color of HTV on the cut mat, and the iron on vinyl comes with its transparent carrier sheet. Many times, you are instructed to put the shiny side down. The carrier sheet is considered the shiny side. However, in some cases, it's difficult to say which side is shiny as some colors are very bright that they look similar.
So, as a solution, you can poke the corner of vinyl with a weeding tool; if it doesn't poke through, that's a carrier sheet. If it were the vinyl side, the vinyl would pull up. Then, it's time to load and cut all colors you want in your design. After that, you will have to weed the vinyl. As you know, weeding removes tiny pieces of vinyl that aren't necessary for the design.
Go ahead and poke your weeding tool into the vinyl from one of the corners and peel it off the carrier sheet. The carrier sheet might feel sticky, but the HTV wouldn't. Then repeat the weeding process for each vinyl sheet you cut for your shirt. Now, let's ready to heat press the shirt.
Finally, Heat Press Your Shirt
I had my Cricut Easy Press to press my shirt. What do you have? A heat press is also good. Although, a home iron won't be recommended as they don't get hot as required and heat unevenly. It may make your vinyl stick, which won't last long.
I prefer the heat guide to determine the accurate temperature and time to heat your shirt. You can select the type of heat transfer vinyl and the type of fabric, and the results will be shown.
Therefore, set your heat press to the required temperature and let it get hot. First, pre-press your shirt to get rid of the moisture and wrinkles. Remember to use a mat or a towel to put under your shirt to save your table.
You should not use a center point depending on your shirt's size. The top of the design should be 2-4" below the collar of your shirt. Hence, many designs even won't go to the center point. However, a horizontal line helps keep the design in the right place.
Now, you can use the Design Space to find the center of your design. Or you can take a big cutting of your design and fold it in half to find the center. You will see the rulers in the design space if you drag the design to the top left corner. You can use them too, to find the center.
Conclusion
The amazing Cricut accessories have made measuring and modifying your design easy. It was all fun creating your shirt with a Cricut. You need a few items and a Cricut Machine and Heat press. With this simple DIY design for Cricut, you can design many more things on your clothes. It may look like a bit of mathematics, but trust me, it's easy to do.
You have to start with Design space to create your design and end with pressing your shirt with a towel under the shirt to provide a smooth surface to heat and also to protect your table. So, try out now this amazing DIY design today and see what unique design you can create with your heat press.


 Cricut EasyPress Tote